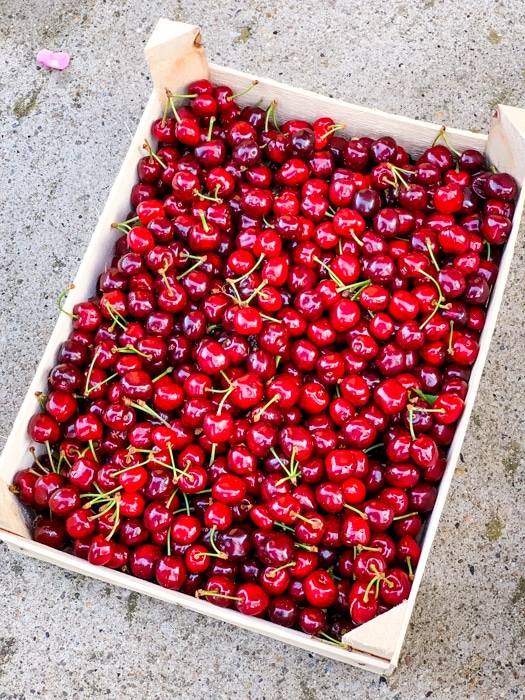
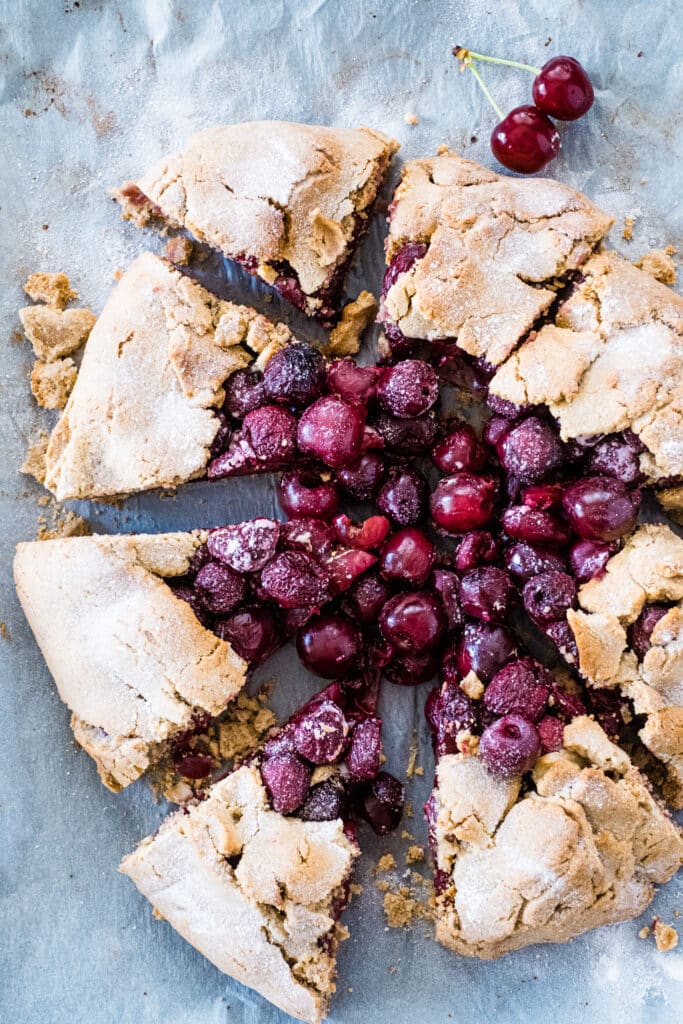
It’s the cherry season! And after eating fresh cherries, a gluten-free rustic cherry galette that is also sugar-free and lectin-free, is the next best thing. Unpretentious and easy to make, this gluten-free galette is a healthy summer treat to share with family and friends.
What is the difference between sweet and tart cherries?
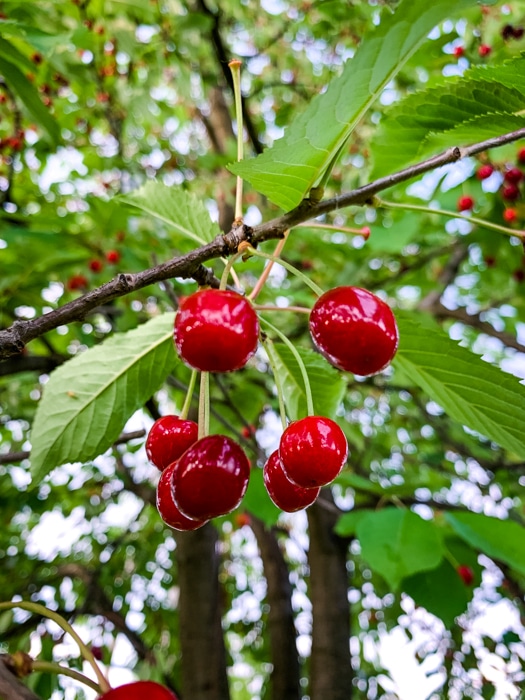
Both types of cherries contain melatonin, a mitochondrial must-have. Melatonin protects mitochondria from oxidative stress and optimizes their function, according to Dr. Steven Gundry, in The Energy Paradox. For this reason, food-sourced melatonin is a real boost to your mitochondrial energy system.
That being said, although both types of cherries contain melatonin, tart cherries contain 50 times more melatonin than sweet cherries. This particular galette was made with sweet cherries, but you can also use tart cherries. You will have to add slightly more sweetener, as tart cherries tend to be… ummmm… tart.
The flour mix for the gluten-free rustic cherry galette
The flours I used for this pie crust are:
Chestnut flour is naturally sweet and has a great taste, that’s the reason I love to use it. If you don’t find chestnut flour, use more almond flour. I even made this pie dough with cassava and coconut flour, but the ratio of coconut will be different (that’s another recipe, maybe coming soon!).
You can also find the flours on my shop site. And if you want more information on the different kinds of flours I use, I recommend reading my article Quick guide to lectin-free, gluten-free flours.
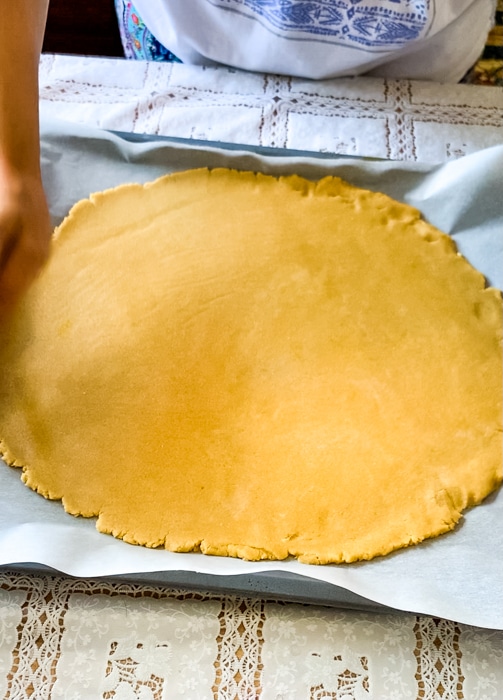
Assembling the gluten-free rustic cherry galette
While this gluten-free dough will not be as elastic and pliable as a glutenous dough, it is in fact a forgiving one. Make sure you let it sit in the fridge for at least 30 minutes, as that makes it easier to work with, especially during summer if it’s hot in your kitchen.
Even so, sometimes I skip this step and still manage to put it together. When you fold the edges of the dough over the filling, they might break, but don’t worry, stick them together with your fingers. After baking everything will stay well together.
Careful if you are using frozen pitted cherries, there might be some extra moisture there that you would have to account for. The tapioca will help with absorbing some of the moisture, but if you notice there is too much liquid maybe just sprinkle some tapioca or some ground nuts before you add the cherries.
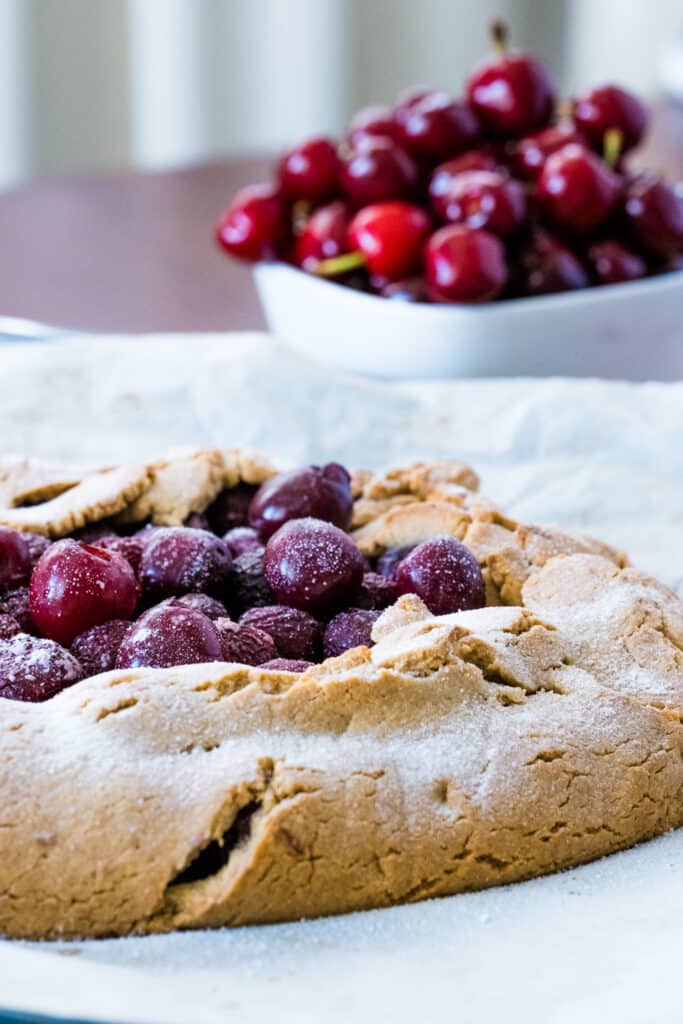
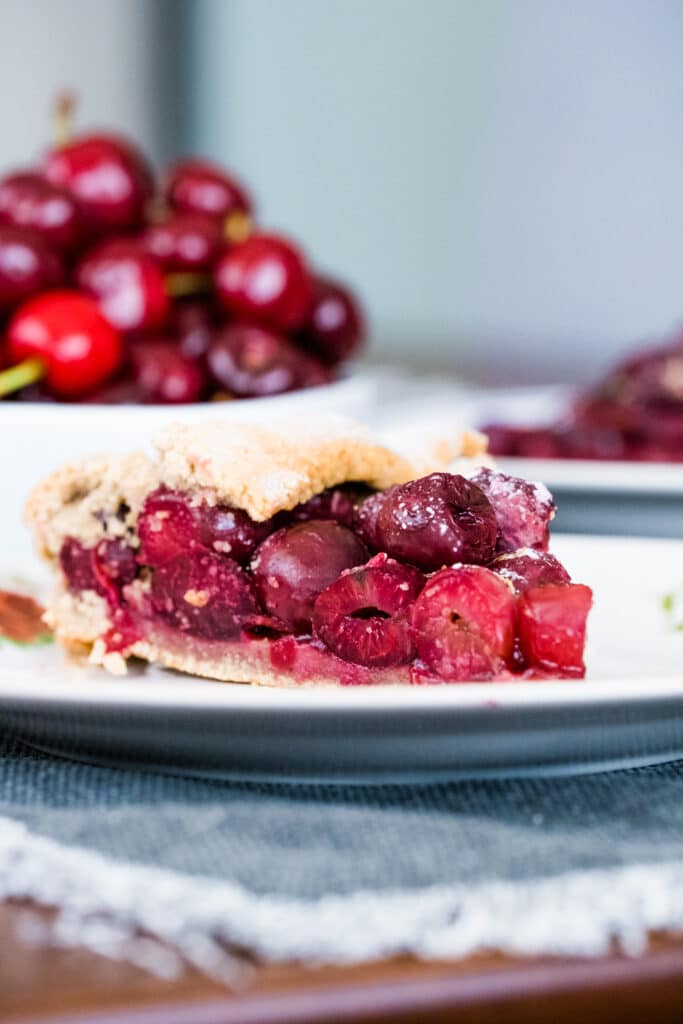
How to serve the rustic cherry galette
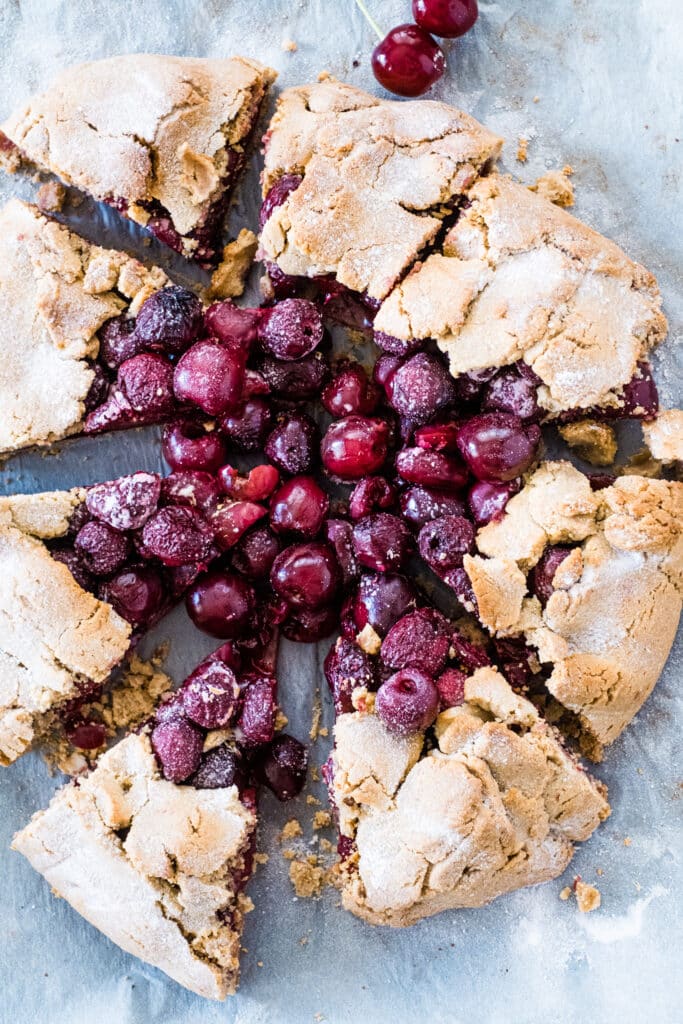
After taking it out of the oven you have to let it rest at room temperature for about 30 minutes. I like to dust mine with some inulin powder. You can serve it warm as it is or maybe with a scoop of plant paradox compliant ice cream.
I personally love this gluten-free rustic cherry galette the next day, out of the fridge.
For another delicious, summer treat check our Plant Paradox Summer Berry Crumble. For another easy-to-make gluten-free, sugar-free galette check our Apple Galette with Hazelnut Crumble.
*This post contains affiliated links, which means I get a small commission if you choose to purchase something via one of my links, at no extra cost to you.
Print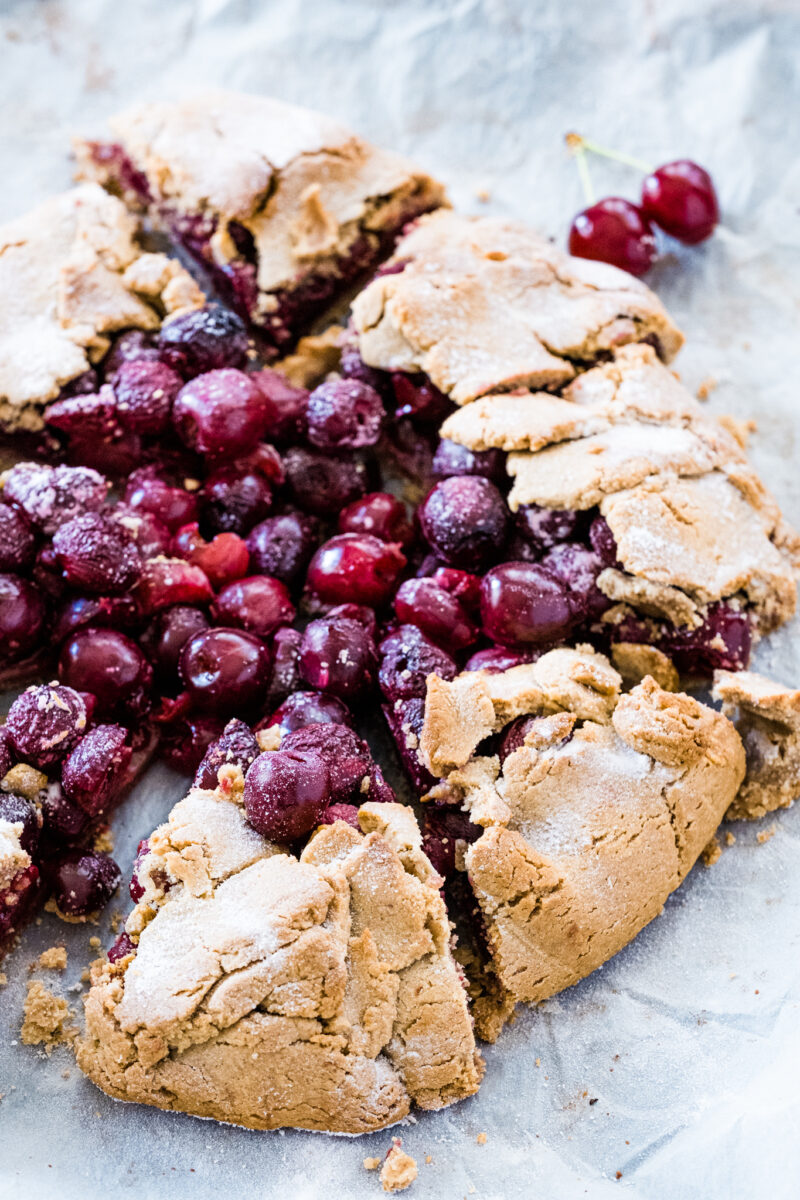
Gluten-Free Rustic Cherry Galette (Sugar-Free)
- Prep Time: 35 minutes
- Cook Time: 35 minutes
- Total Time: 1 hour 10 minutes
- Yield: 8
- Category: Dessert
- Method: Baking
- Cuisine: French
- Diet: Gluten-Free
Description
This gluten-free rustic cherry galette is a delicious and easy-to-make sweet treat that is also sugar-free and lectin-free.
Ingredients
FOR THE CRUST
- 1 cup cassava flour
- 3 tablespoons arrowroot OR tapioca flour
- 1/2 cup chestnut flour
- 1/2 cup almond flour
- 1 tablespoon monk fruit sweetener OR inulin powder
- 1/4 teaspoon salt
- zest from one organic lemon
- 2 pastured eggs
- 1 teaspoon vanilla
- 1/2 cup coconut oil, softened but not melted
- 4 tablespoons ice-cold water
FOR THE FILLING
- 4–5 cups fresh cherries, pitted
- 1 tablespoon monk fruit sweetener/inulin powder (more if you use tart cherries)
- 2 teaspoons tapioca powder
- 1 tablespoon lemon juice
- zest of one organic lemon
Instructions
- Preheat oven to 350F.
- Combine the flour, sweetener and salt in a food processor.
- Add the lemon zest, eggs, vanilla, coconut oil and the water and process on high until everything gets mixed together. At this point, it will look more like a crumble.
- Take everything out in a bowl or on a sheet of parchment paper and start working the dough with your hands. It will be a hard dough first, but it will stick together. Shape the dough in a ball and let it rest in the fridge while you are preparing the filling.
- Prepare the cherries: pit them and mix them in a bowl with the tapioca, sweetener, lemon juice and lemon zest.
- Prepare a working surface with two parchment papers and a rolling pin. Take the dough out of the fridge (it needs about 30 minutes in the fridge), knead it a little bit so it warms up, and start to flatten it on the bottom parchment paper, spreading it into a round or a rectangular. Add the parchment sheet on top and start rolling with a pin until you get a sheet about 1/8 inch thick. The dough might crumble a little bit on the edges, but it’s easy to stick back together using your fingers. Peel the top parchment paper off and transfer the bottom one with the dough on a baking sheet.
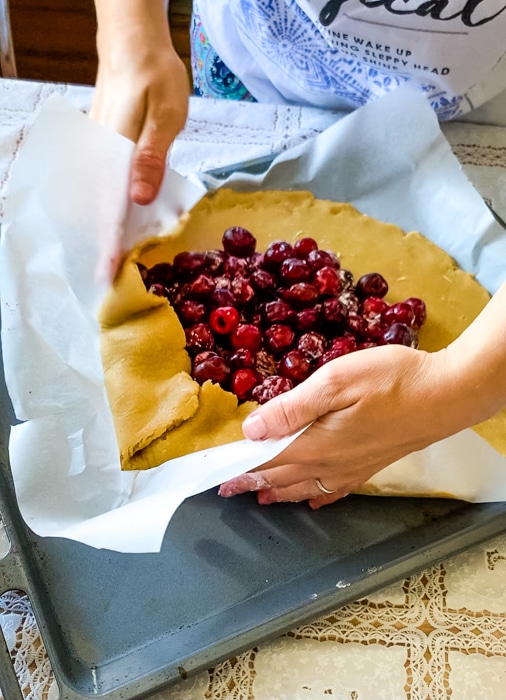
- Arrange the cherry filling on top of the dough, leaving about 1 1/2 inch space all around on the sides. Leave some cherries out to add on top after you fold the edges.
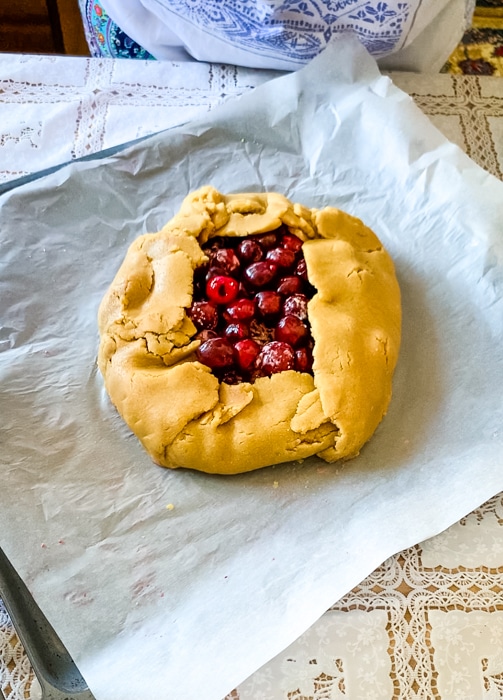
- Fold the edges on top of the cherry filling, using the parchment paper to lift it and fold it over. Don’t worry if it breaks, stick it back together. Add the rest of the cherries in the middle.
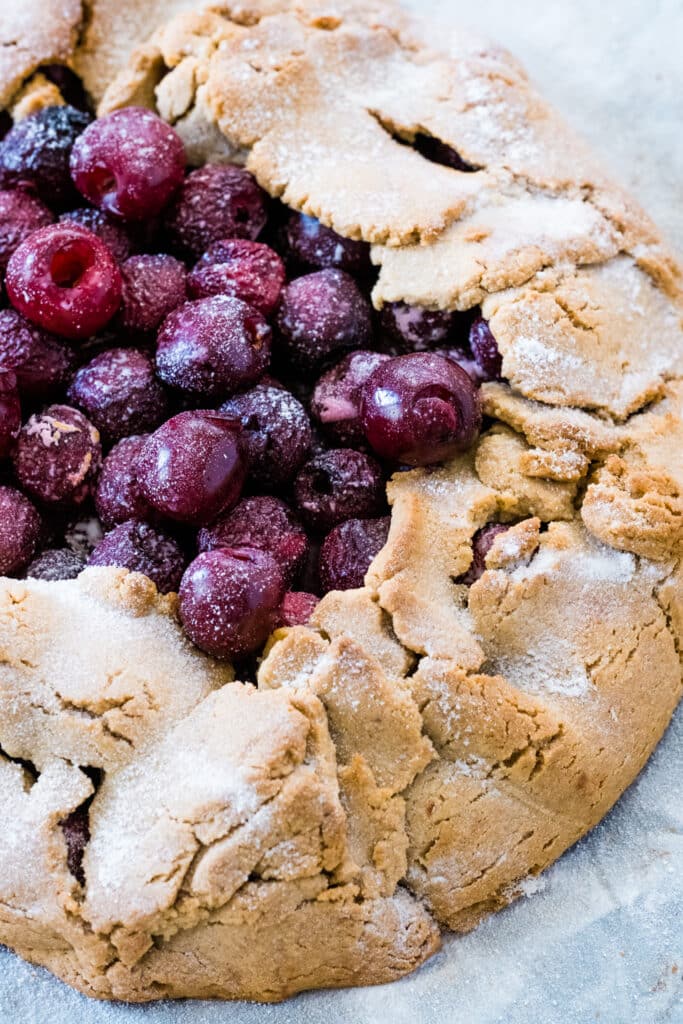
- Bake for about 35 minutes or until the dough and top is golden brown, but keep an eye on it so it doesn’t burn.
- After taking it out of the oven, dust it with inulin powder or another powder sweetener. Let it slightly cool down, eat warm, or store in the refrigerator. I love both warm or cold but my favorite way to eat it is the second day, cold from the refrigerator.
No Comments