Broccoli is a well-known superfood, but what’s lesser-known is its even more nutrient-packed version – broccoli microgreens.
This guide takes you through the extraordinary health benefits of these microgreens, their comparison with broccoli sprouts, the easy process of growing them at home, and their crucial role in promoting sustainable food systems.
So, let’s explore the powerful world of broccoli microgreens and how to incorporate them into your everyday meals.
What are broccoli microgreens?
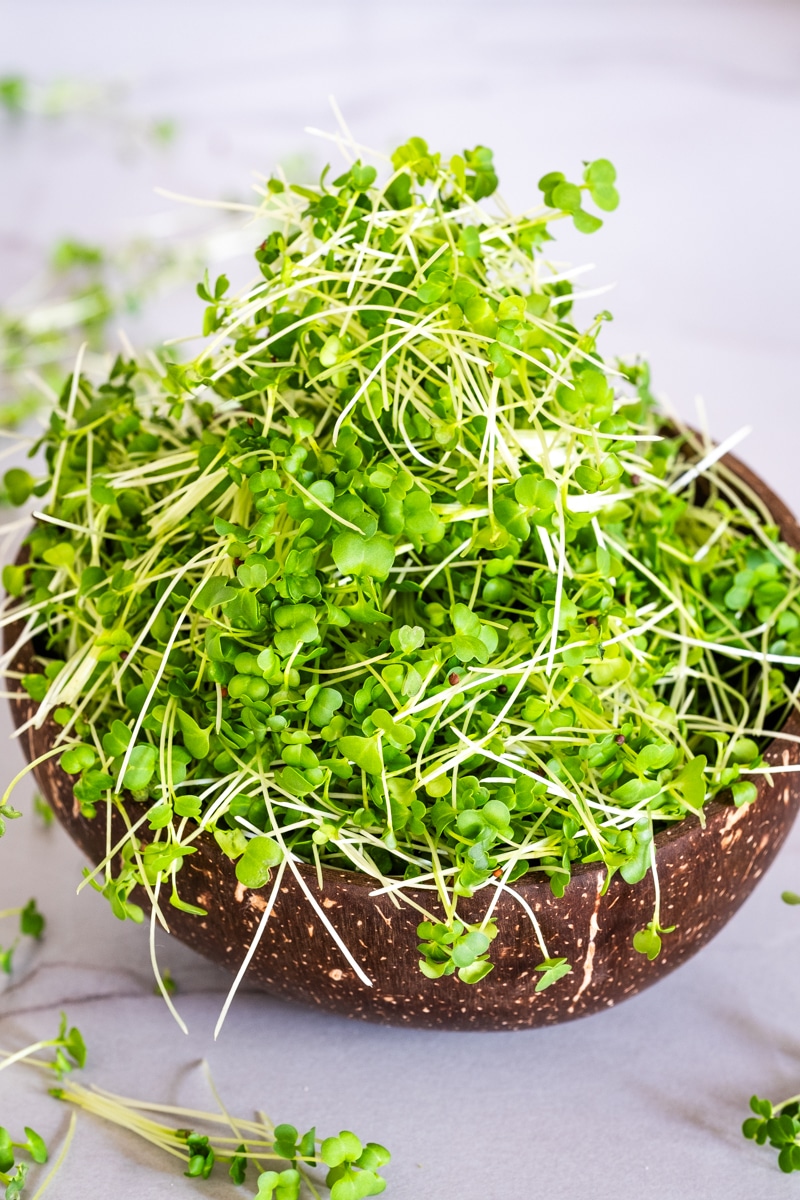
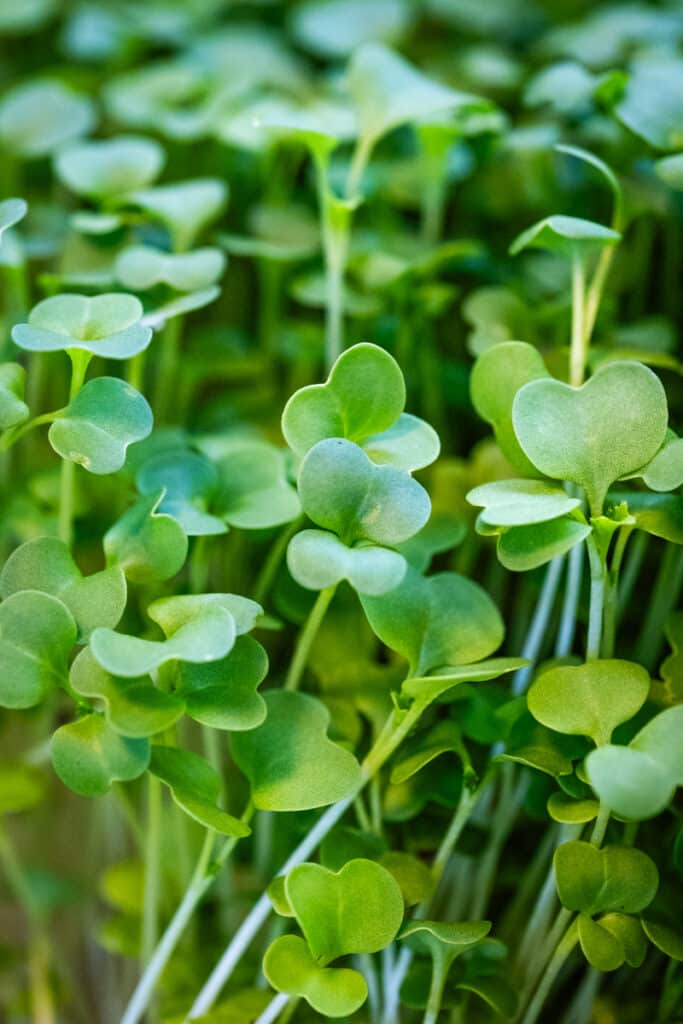
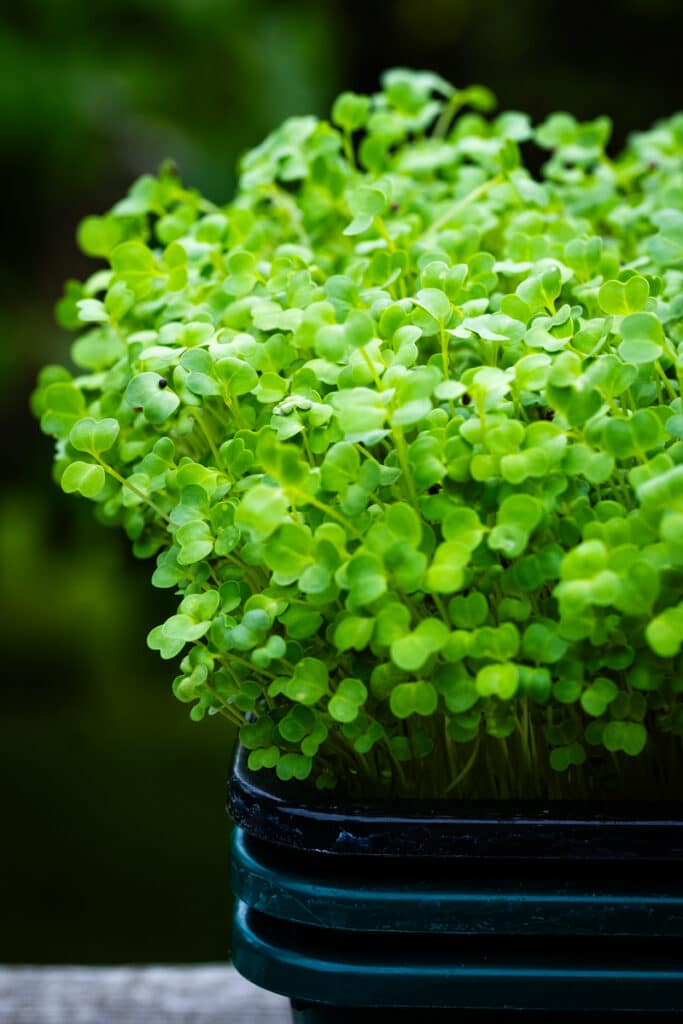
Broccoli microgreens are young, tender broccoli plants that are harvested when they are just a few inches tall.
These tiny plants are typically only 10 to 14 days old and have only just begun to grow their first set of true leaves.
They have a delicate texture and peppery flavor, making them perfect for adding to salads, sandwiches, and smoothies.
Broccoli microgreens vs. broccoli sprouts: a comparison
Microgreens and sprouts are not the same thing, but they are often confused. Let’s see what the difference between the two is.
Broccoli sprouts are another type of young broccoli plant often touted for its health benefits. Like broccoli microgreens, the sprouts are harvested when they are still young and tender. However, there are some key differences between the two.
- Growing method: Broccoli sprouts are grown by soaking the seeds in water and then allowing them to sprout in a jar or tray for a few days until they produce small sprouts. In contrast, broccoli microgreens are grown by planting the seeds in soil and allowing them to grow for several days until they develop their first true leaves.
- Growing time: Broccoli sprouts typically take only 2-5 days to grow, while broccoli microgreens can take 7-14 days to reach harvest maturity.
- Nutrient content: Broccoli sprouts are known for their high levels of sulforaphane, a potent antioxidant that has been linked to a variety of health benefits. However, broccoli microgreens contain sulforaphane and a broader range of nutrients and are more nutritionally dense than sprouts.
- Flavor and texture: Broccoli sprouts have a mild flavor and a crunchy texture, while broccoli microgreens have a more intense broccoli flavor and a tender, leafy texture.
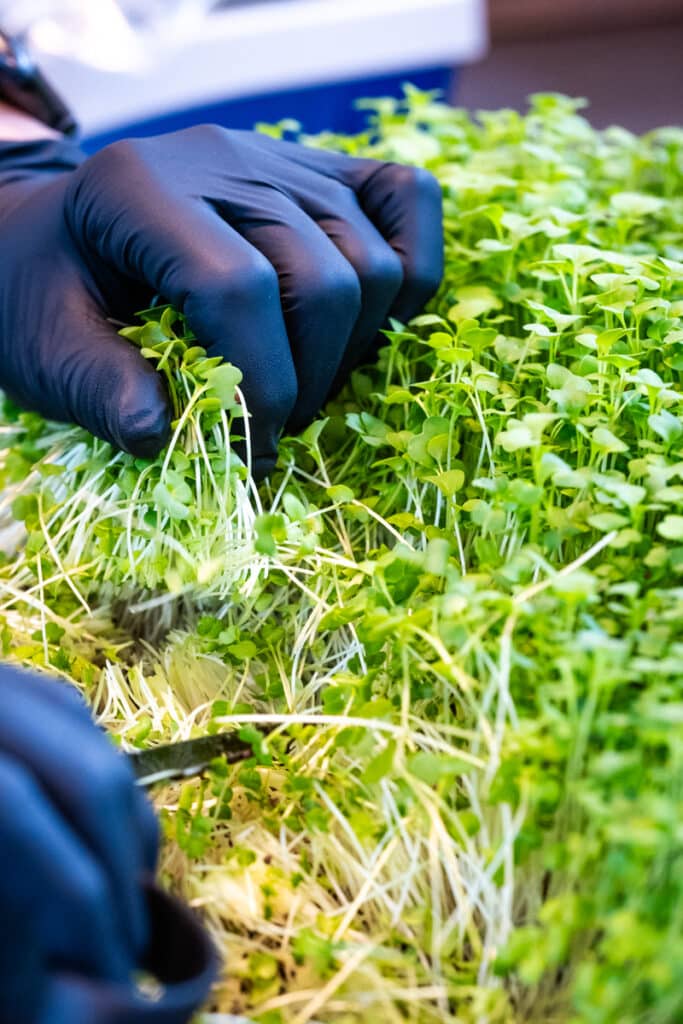
- Harvesting method: Broccoli sprouts are typically harvested by rinsing them in water and then shaking off any excess moisture. Broccoli microgreens, on the other hand, are harvested by cutting the stems just above the soil line with a sharp pair of scissors.
Broccoli microgreens nutrition and health benefits
Broccoli microgreens are superfoods boasting a rich source of antioxidants, including sulforaphane, a compound found in cruciferous vegetables that has been linked to many health benefits, including reductions in cancer risk, inflammation, and oxidative stress.
They’re also high in essential vitamins like A, C, E, K, and the B group and minerals like calcium, iron, magnesium, phosphorus, potassium, and zinc.
DISCLAIMER: This is not intended as medical advice. Please read the studies linked in this article and discuss with your doctor if adding broccoli sprouts and microgreens to your diet is appropriate.
Taste and texture
Broccoli microgreens have a robust peppery bite that is reminiscent of mature broccoli.
They have a soft and light texture and overall a more delicate appearance than broccoli sprouts, with small, bright green leaves and thin white stems.
How to eat broccoli microgreens
There are plenty of simple ways to include broccoli microgreens in your meals.
I like to add them to salads for a nutritional and flavor boost. They’re also great as a garnish on soups, sandwiches, and pasta dishes, or mixed into omelets.
I get my microgreens from a local organic certified micro-producer once a week, so I’ve learned to be creative in using them up.
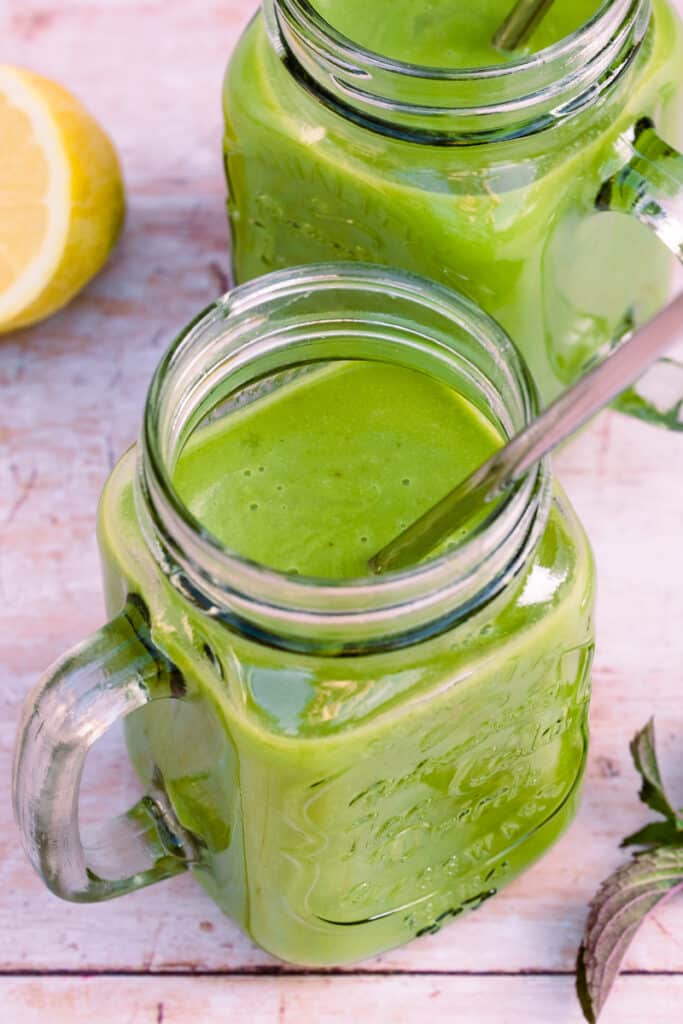
Two of my go-to solutions when I have extra microgreens are smoothies and pesto. I love adding a handful of broccoli microgreens to my morning green smoothie, and sometimes, I even add cilantro microgreens for a fresh, nutrient-rich start to the day.
Blending broccoli before eating can increase the sulforaphane content due to breaking the walls of the plants.
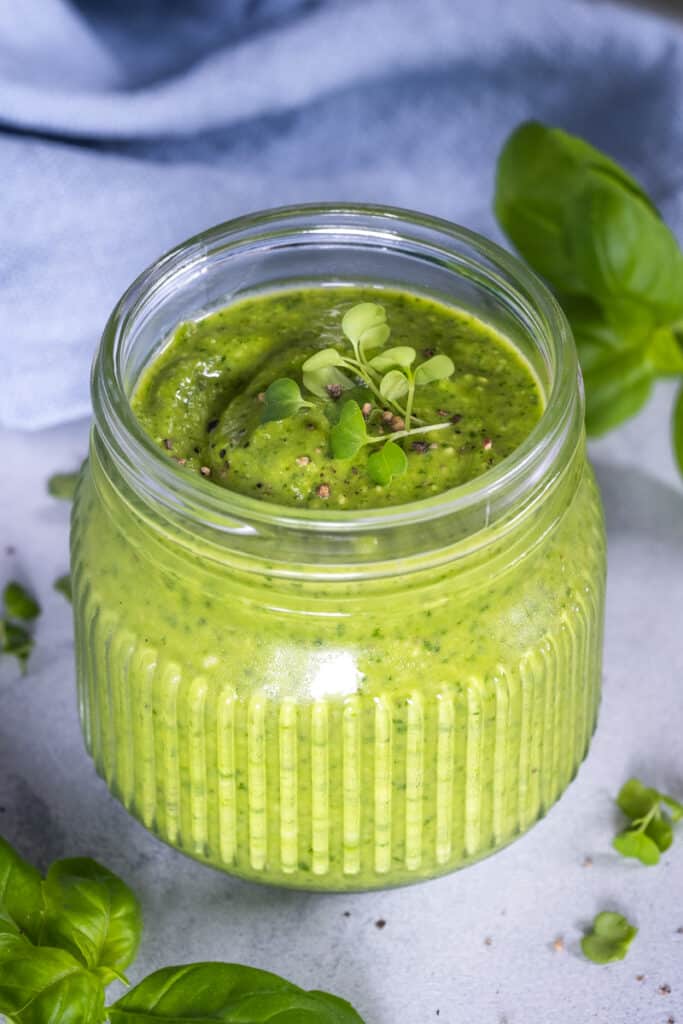
Another favorite is making pesto. I take the classic pesto recipe with fresh basil, nuts, olive oil, and Parmigiano Reggiano, and then blend in a good amount of microgreens. The result? A tasty, nutrient-packed pesto that I can use with almost every meal.
Interestingly, according to this study, freezing broccoli sprouts and microgreens increases the sulforaphane content. Mild cooking can have the same effect.
Do I wash the microgreens before consumption? It depends. Washing microgreens can easily damage their texture. If you trust your source or grow them yourself, there shouldn’t be any need to wash them. I don’t wash them as I know how they are handled, but you should do whatever feels safer to you.
My favorite broccoli microgreens recipes
- Green Dream, Keto Smoothie with Avocado and Greens
- Super Healthy Broccoli Microgreen Pesto
- Healing Soup with Kale and Broccoli Sprouts or Microgreens
- Tomato Feta Salad with Microgreens
How to grow broccoli microgreens at home
Broccoli microgreens are easy to grow at home. This process also makes them more affordable, and a great way to have a continuous supply of this superfood. You only need a shallow tray, quality soil, broccoli seeds, a sunny windowsill, or a grow light.
The best soil for microgreens
A high-quality organic potting mix will generally yield the best results for growing broccoli microgreens. The soil should be well-draining to avoid water-logging and root rot.
Potting mixes often include a blend of ingredients like peat moss or coco coir, perlite or vermiculite, and compost or worm castings. These ingredients together provide a mix that is light and fluffy, holds moisture well but also drains properly, and supplies the young plants with essential nutrients.
You should avoid garden soil or topsoil for growing microgreens, as these can be too heavy, may not drain well, and can contain weed seeds or pathogens.
Remember, broccoli microgreens are delicate and have shallow roots, so a loose, nutrient-rich medium like a good-quality potting mix will work best for them.
The trays
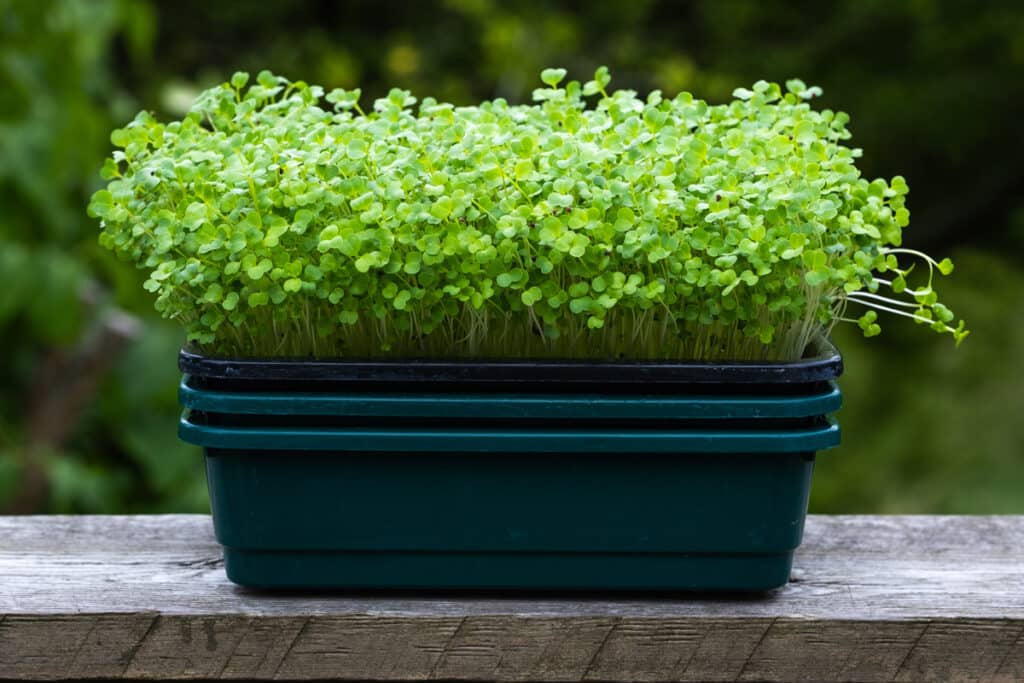
You need three food-grade trays for growing microgreens: a growing tray with drainage holes, a bottom tray and a top tray, both without holes.
Cleanliness is key to preventing mold and bacterial growth, so ensure your trays are thoroughly cleaned between crops.
I use 9″ x 7″ trays, for which I need about 2 teaspoons of broccoli microgreen seeds. Any size trays can be used, but 10″ x 20″ are the most popular.
The step-by-step process
My neighbor, who has an organic microgreens business in Denmark, shared this method with me.
She also helped me with all the needed materials and suggested I could learn more from Donny Greens, a well-known microgreens farmer and educator.
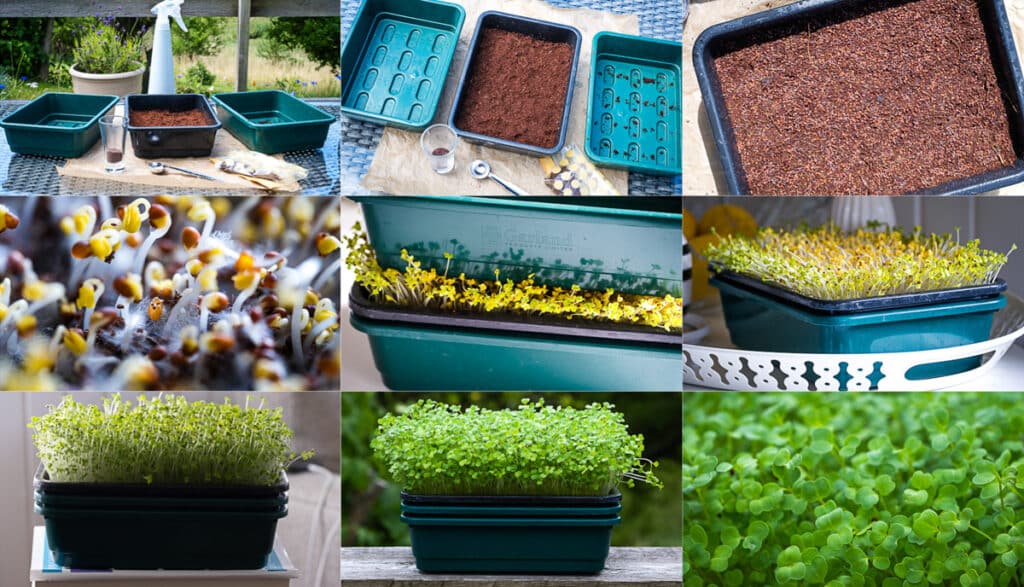
- Start by filling your growing tray (the black one in the pictures) with about an inch of soil and lightly spray with water to moisten the soil. Place the bottom tray below the growing tray. Scatter your broccoli seeds evenly across the surface.
- Mist them lightly with water (use a spray bottle)—no need to cover the seeds with soil.
- Place the top tray on top of the seeds, as seen in the picture below, right in the middle. That will provide some weight for the seeds, and the darkness needed to germinate.
- Place the tray in a spot with indirect light and at room temperature. At this stage, a darker place is fine. Don’t peek!
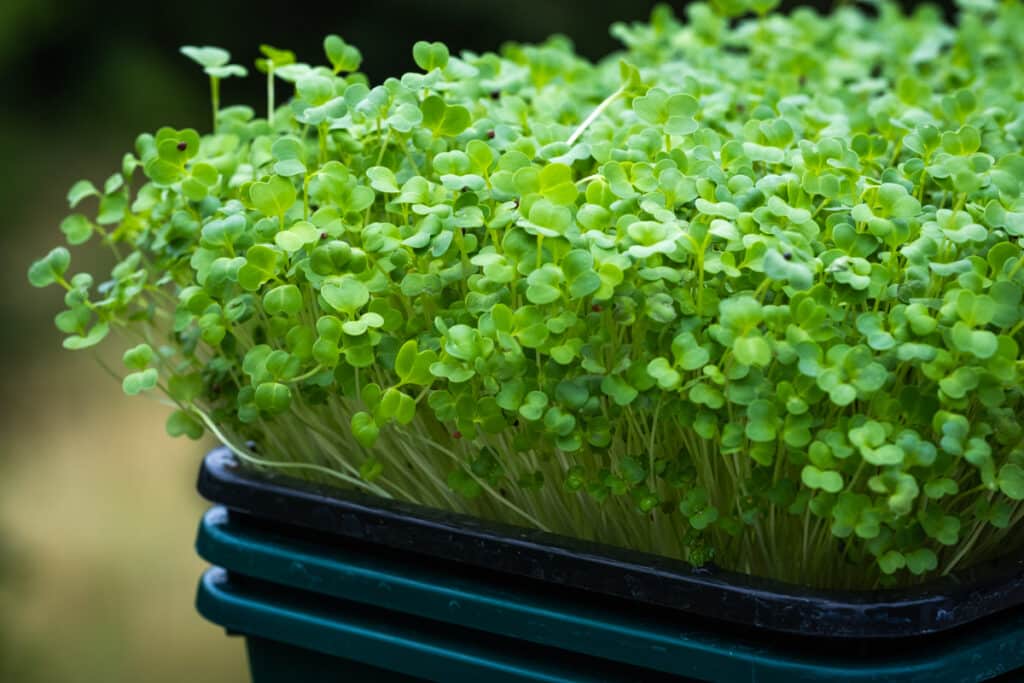
- In about 2-3 days, you’ll see the sprouts pushing up the top tray. At this stage, you can remove the top tray and place the growing and bottom tray in a spot will generous natural light, but not a lot of direct sunlight. You will see some very tiny white hairs, which might appear as mold to a beginner, but they are just root hairs looking for water.
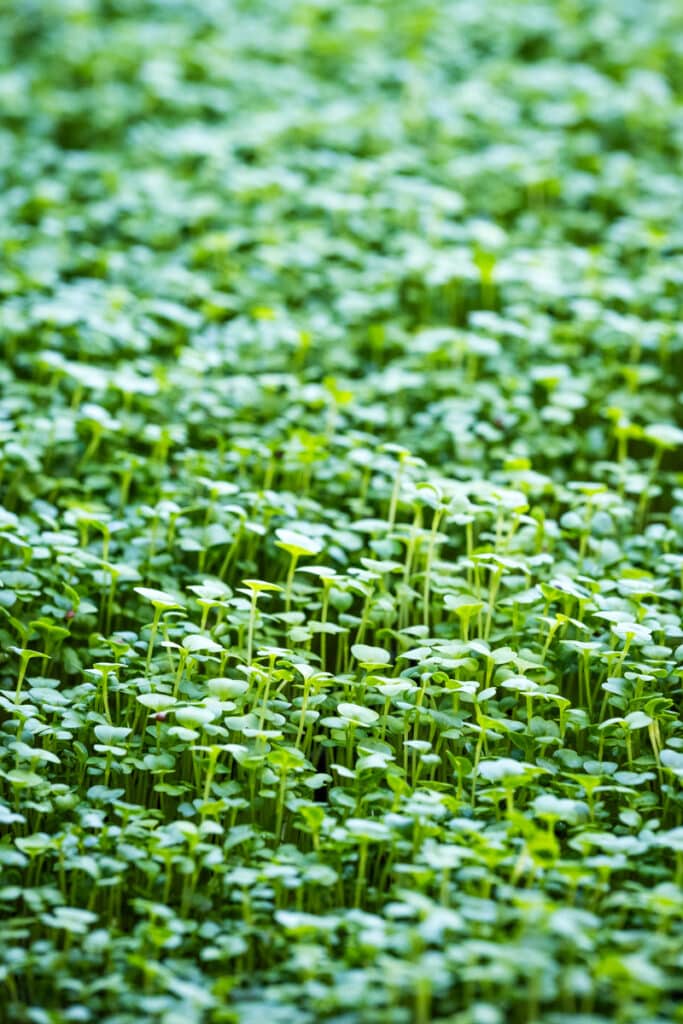
- Keep the soil moist by adding water in the bottom tray, once daily (don’t water them from the top, to avoid excess moisture). Be careful not to add too much water. The soil must be moist, but not soggy, to prevent mold. Within 7 to 14 days, you should have a tray full of nutrient-rich broccoli microgreens ready to harvest. The duration depends on the growing conditions. This batch in the pictures above only took 6 days to reach maturity (probably because of too much direct sun).
- Harvest your broccoli microgreens: cut with clean scissors just above the soil and store in a glass container, on a paper towel, in the refrigerator for up to one week.
Sustainability implications of growing microgreens at home
Growing broccoli microgreens at home is not only a healthy choice but a sustainable one as well. They require minimal space and resources to grow, making them an environmentally friendly choice for urban farming.
This study highlights the immense potential of broccoli microgreens as a dense source of minerals, achievable with a small ecological footprint. Microgreen cultivation can diversify our diets and enhance resilience against environmental changes threatening traditional food chains.
While community gardens have their merits, microgreens provide a unique advantage by allowing individuals to contribute to food production without needing extensive community infrastructure, thus empowering personal responsibility in sustainable food practices.
Conclusion
Incorporating broccoli microgreens into your diet is an excellent way to enhance your nutrient intake and overall wellness while reducing your carbon footprint.
Their rich nutritional profile, combined with their ease of growth and versatility in recipes, makes them an incredible superfood.
So, whether you’re a wellness enthusiast or a budding home gardener, consider the addition of these vibrant greens to your culinary repertoire. They can certainly sprout numerous health benefits while introducing an exciting new flavor and texture to your meals.
Happy growing and healthy eating!
This post contains affiliated links, which means I get a small commission if you choose to purchase something via one of my links, at no extra cost to you.

2 Comments
Susan Feltman
April 6, 2024 at 12:20 pmDO YOU CLEAN THE CONTAINERS, DUMP THE SOIL AND START FRESH EVERY WEEK FOR NEW MICRO GREENS?
Claudia
April 7, 2024 at 1:35 pmHi Susan! Yes, you start clean every time you plant a new batch. -Claudia